This is an old revision of the document!
Scheduler
Scheduler is an excellent tool for organizing your business. Having all the info and all the appointments on one place is hugely beneficial and a true time saver.
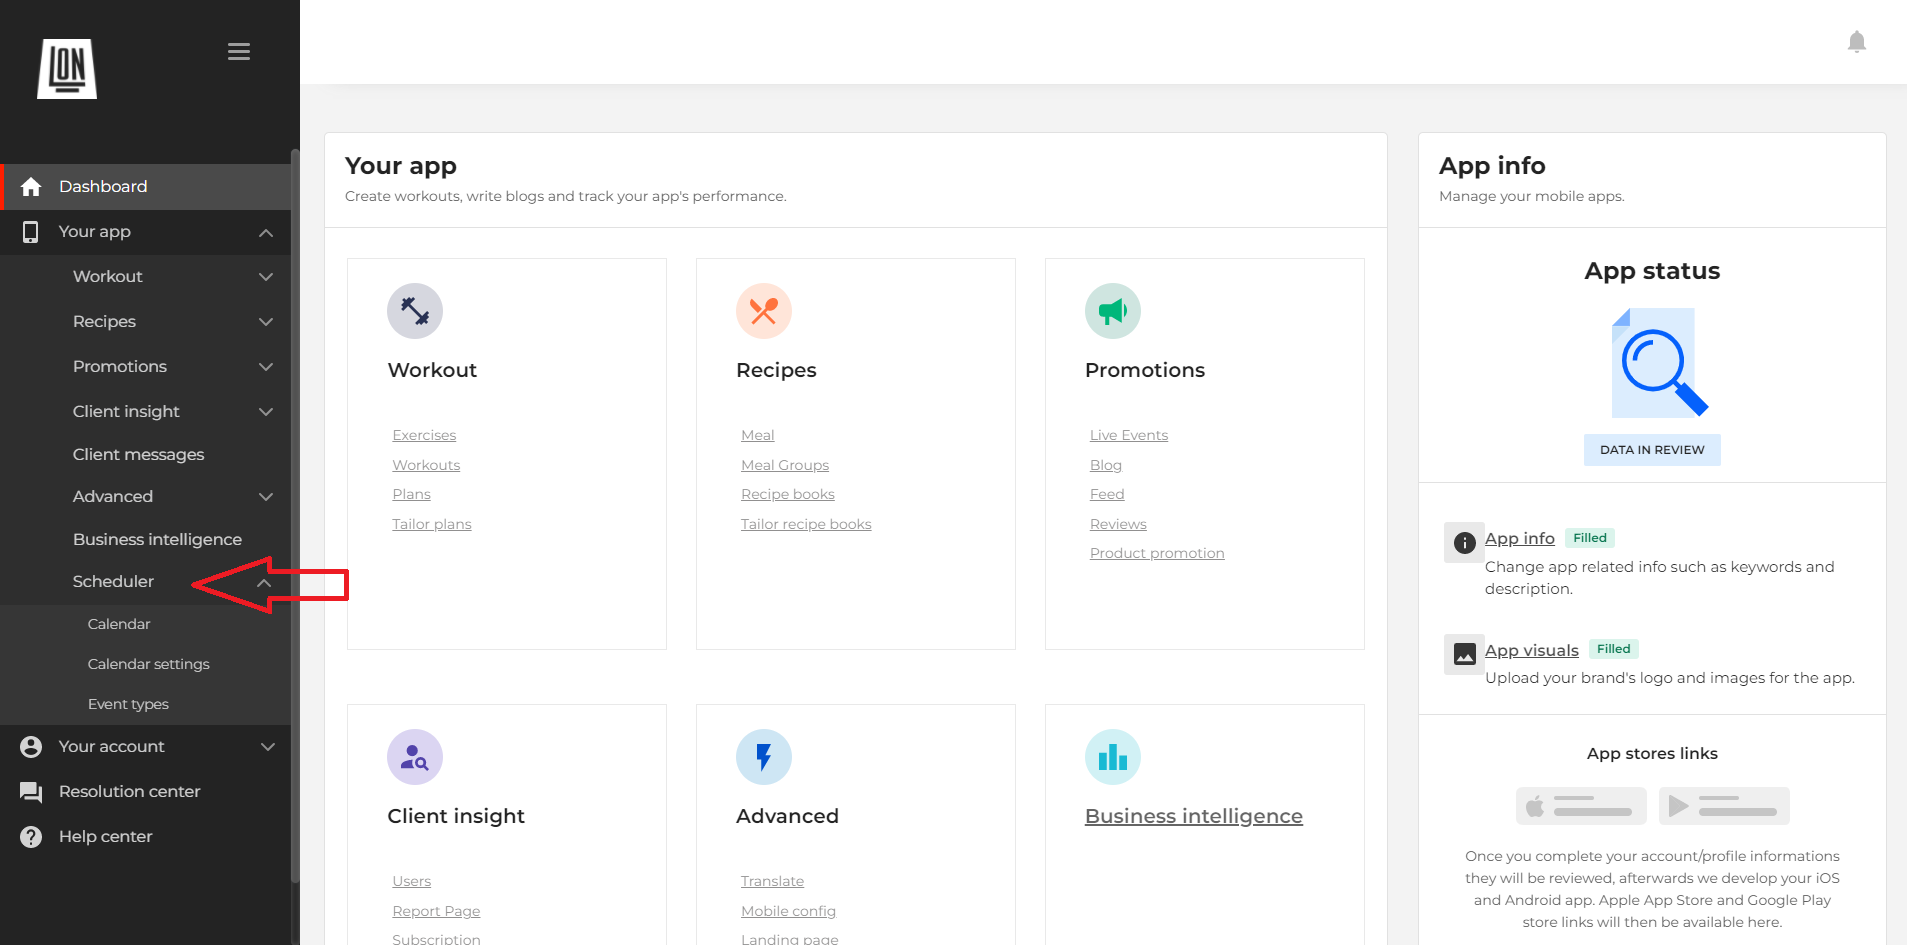
Scheduler is located under Your App section at the bottom of the list.
In this section of the CMS you will find these settings:
- Calendar
- Calendar settings
- Event types
Calendar
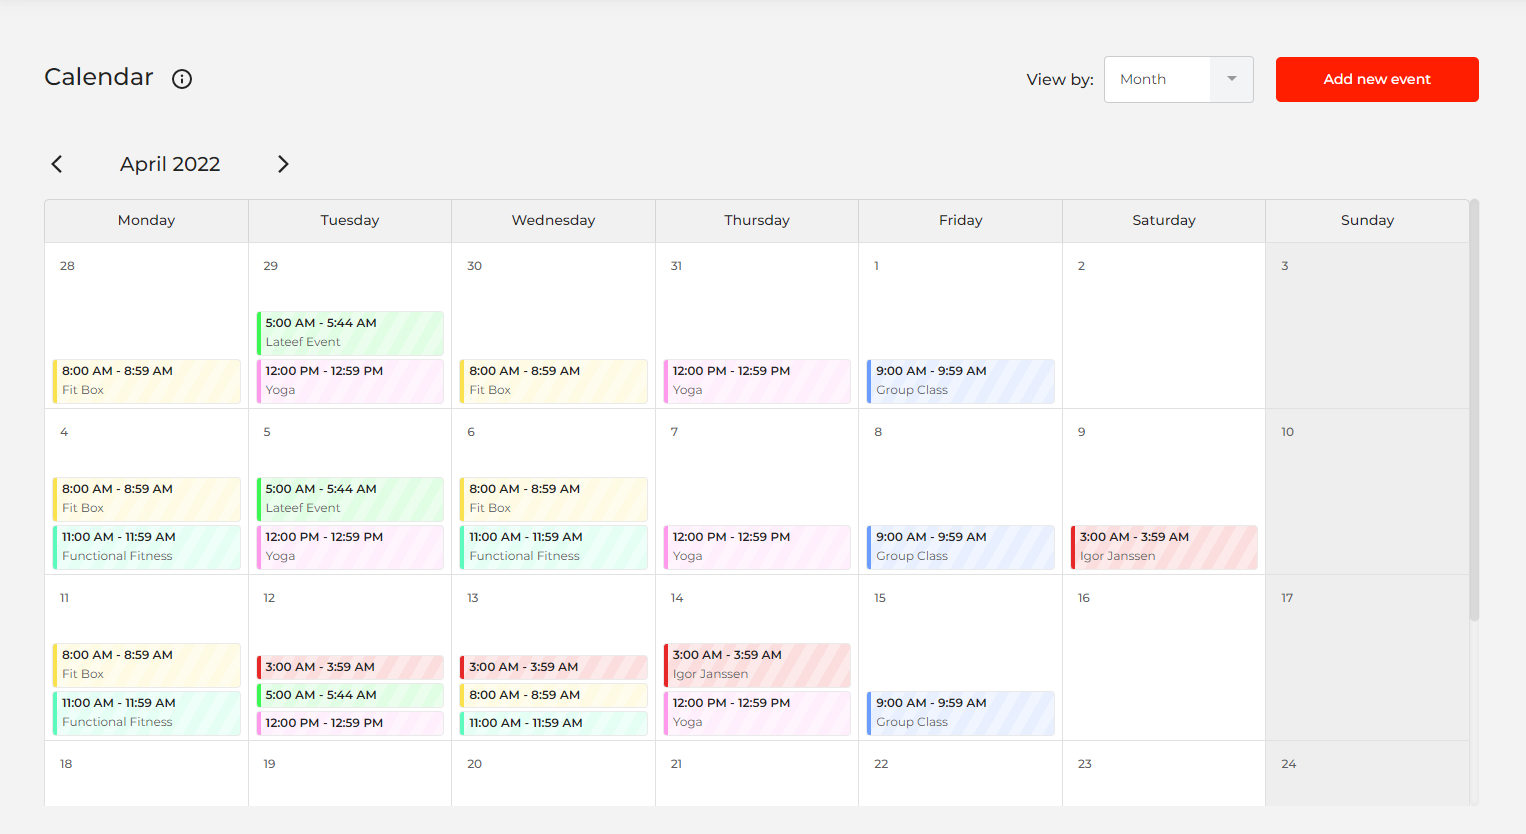
On this section you will organize your business by adding all the events you have into the calendar.
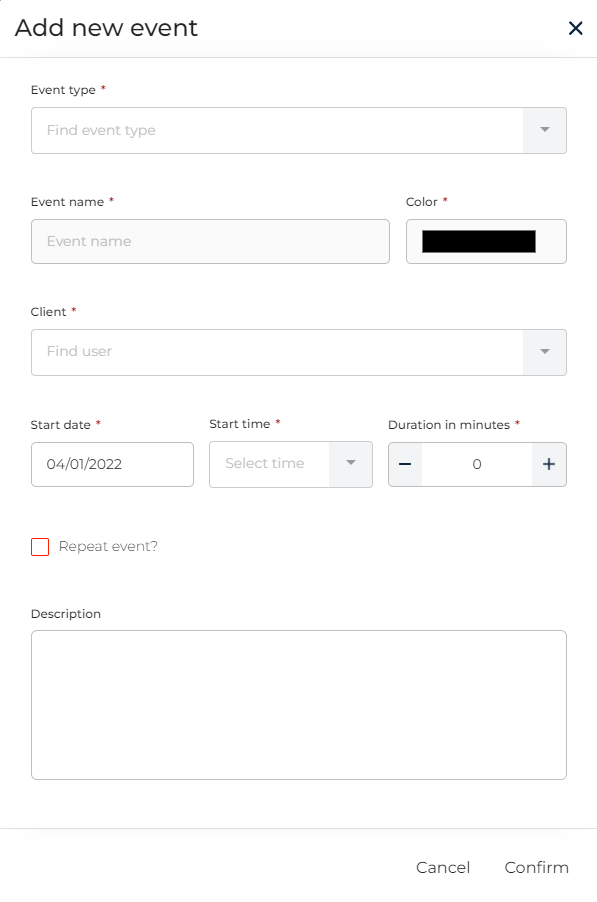
To add an event click on a date you wish and a new form will open.
Fill out all the info and click on the “confirm” button to add your newly created event to your calendar.
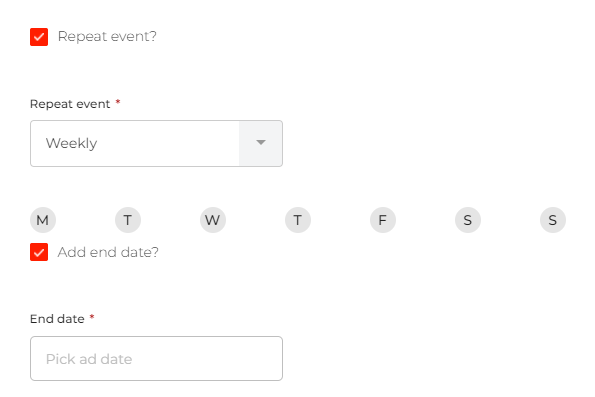
You also have the option to repeat the event if you click on the “repeat event” button.
If your clients request an event from you, you will receive an email with the option to approve or decline the event.
Calendar settings
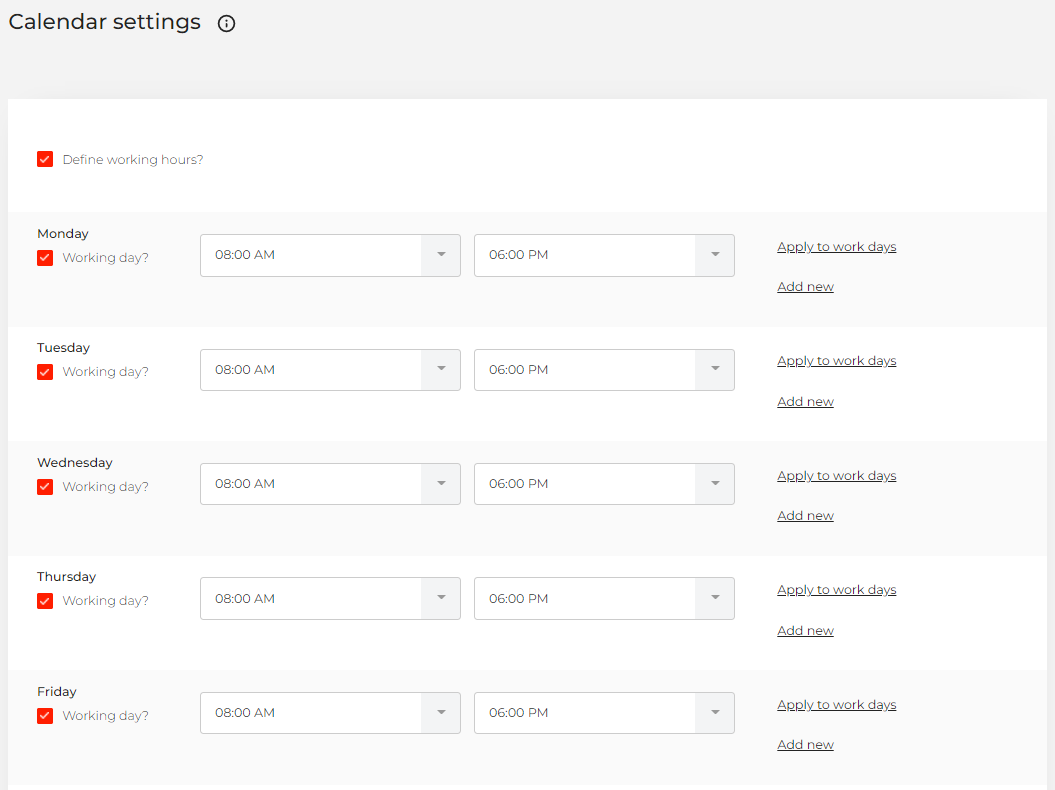
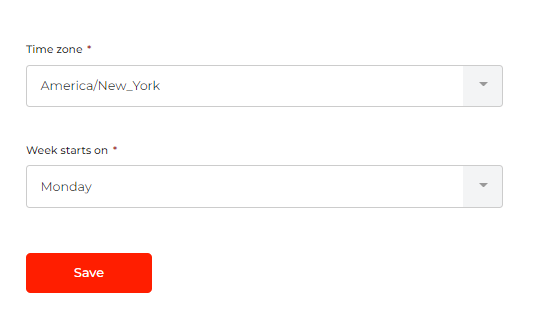
On the calendar settings page you can define your working hours and select a time zone your are in.
You can also select starting day of the week.
After you are done click on the “save” button to apply those changes to your scheduler.
Event types
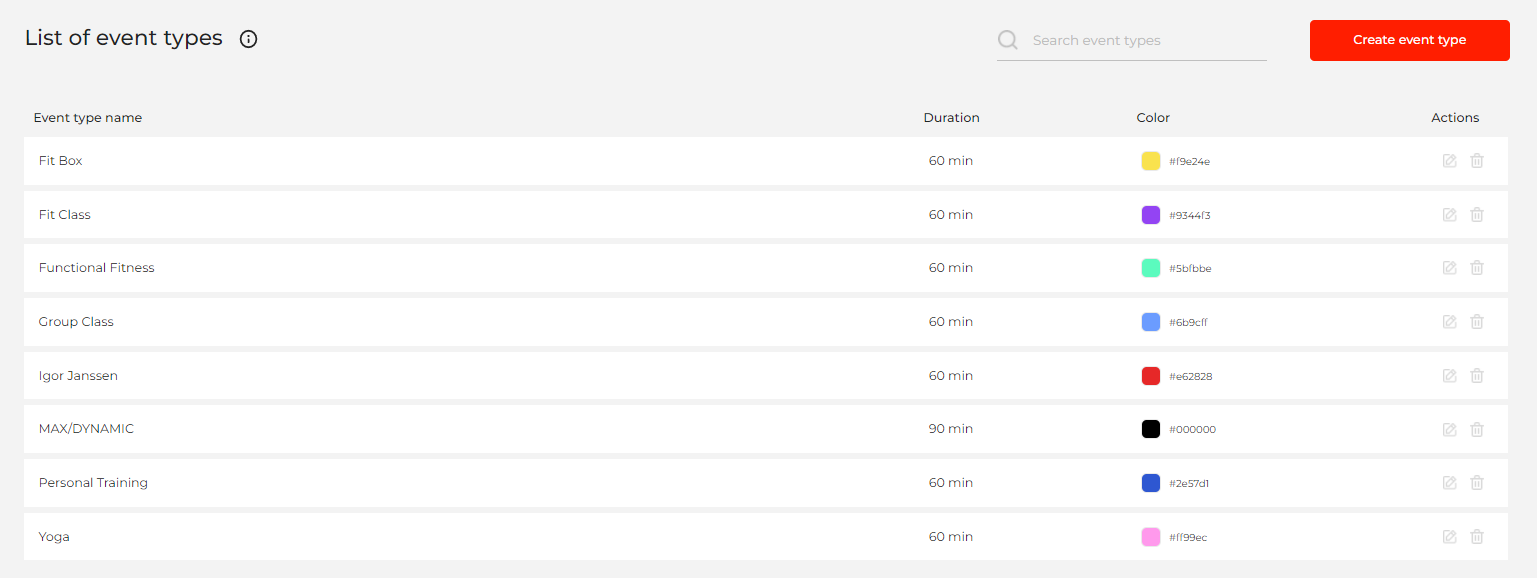
This section of the scheduler includes all of the events that you will use for your calendar.
To create an event press the  button.
A new form will open.
Enter the name for the event and select duration for that event. You can also choose the color for the event as well.
After you are done click on the  button again and add your newly created event to your list.
You can create private events if you need some personal time during your working hours.
